
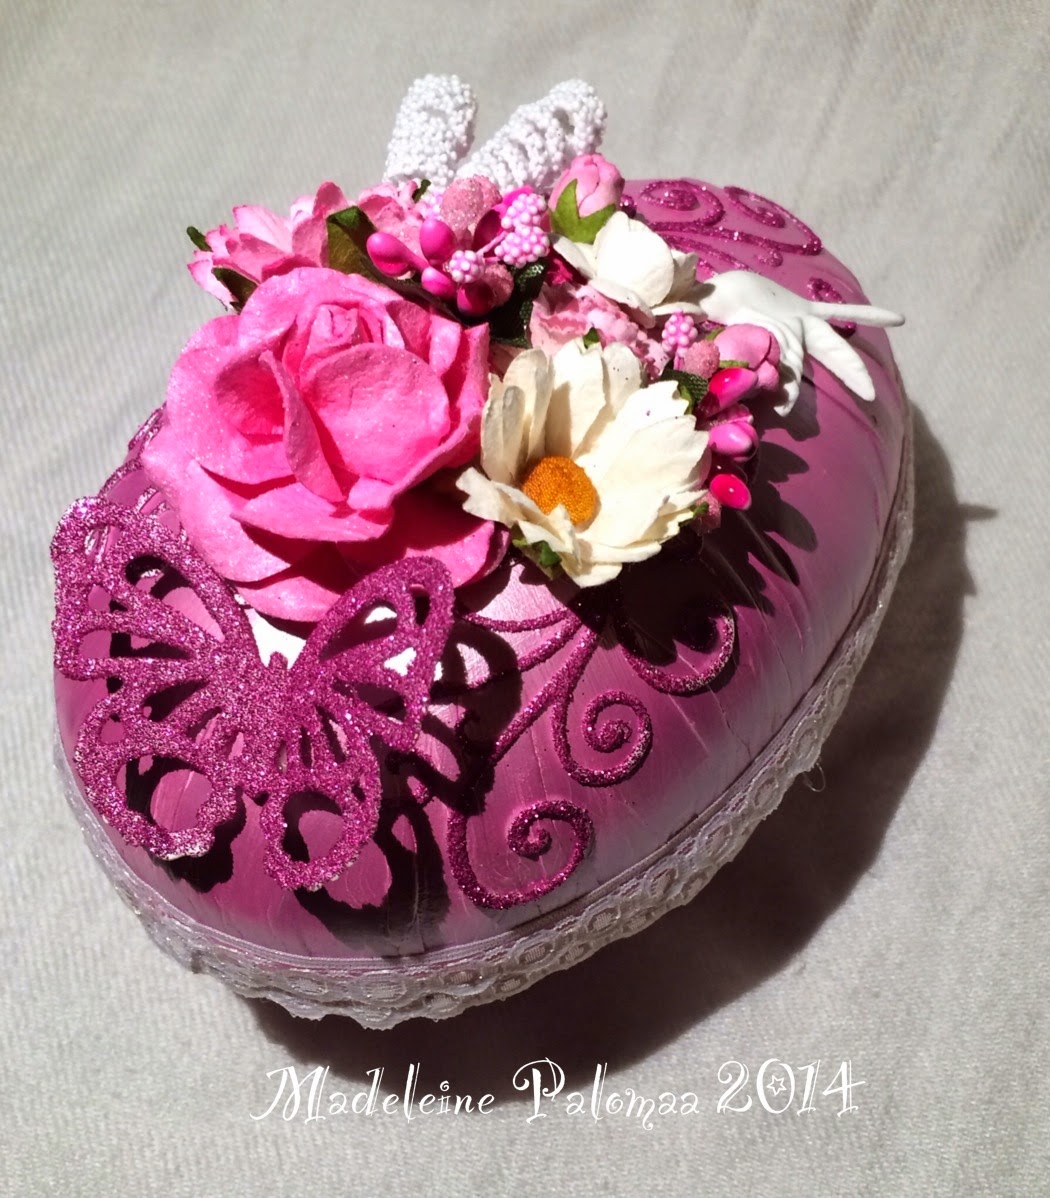
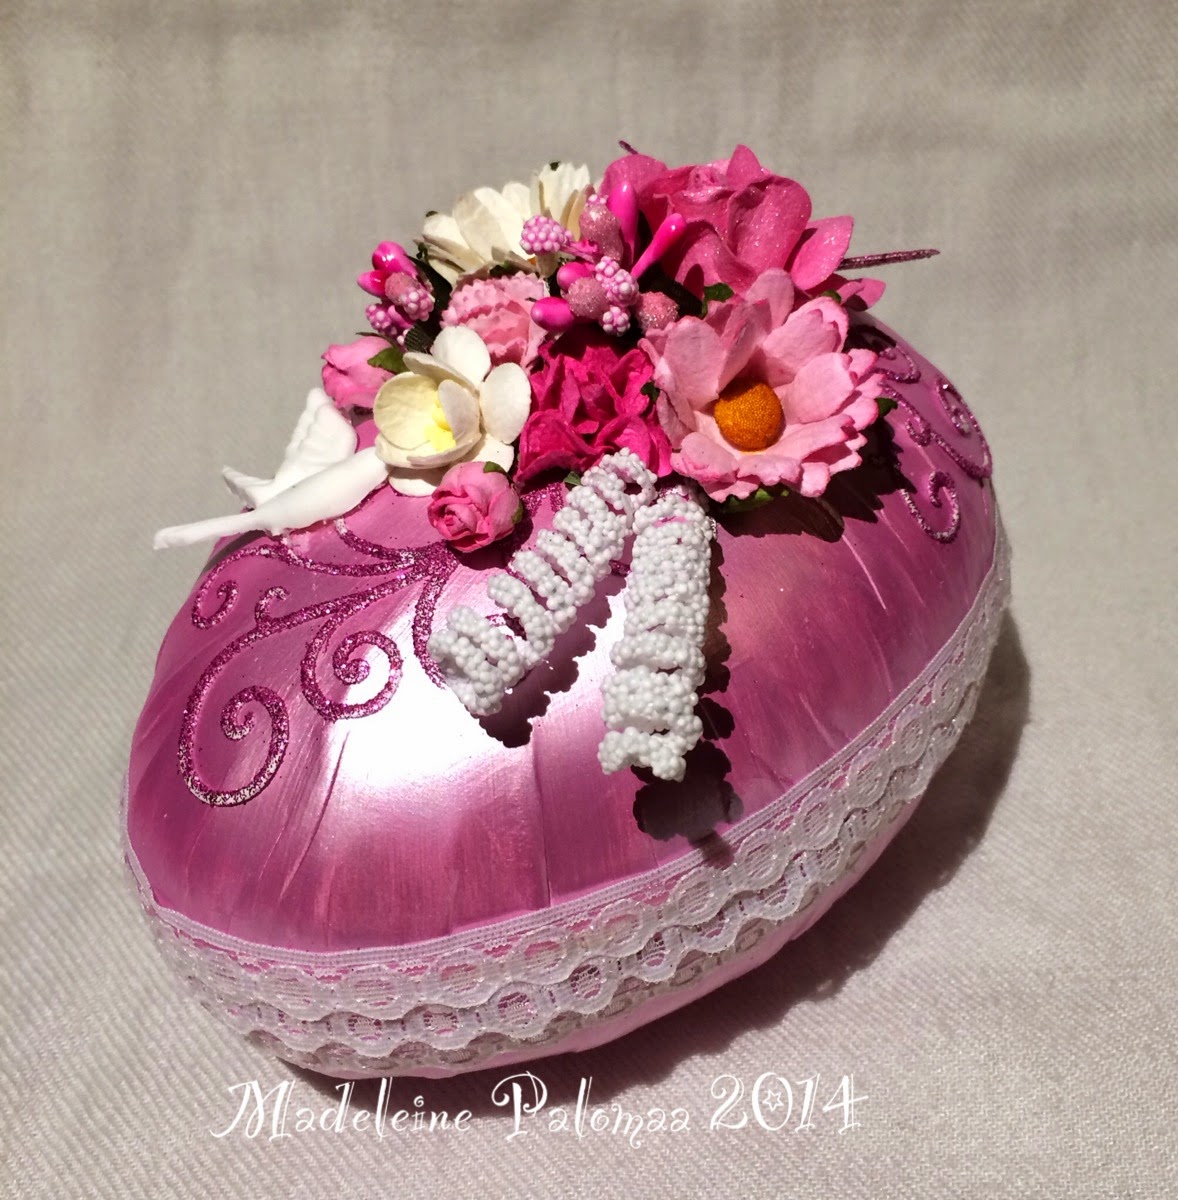
Today I want to show you my altered Easter eggs! I gave this to a couple of family members and I must say, that is a GREAT gift on this holiday!
How did I do them? I bought eggs with typical traditional Easter looks and started altering them with gesso. I only did on layer of gesso, because then I painted them with acrylic paint, I blended blues and reds with white paint and the third (biggest egg) I only painted with white acrylic.
After the painting, I went over with Inka Gold, a shimmery medium, it's like a cream that you can use to and on everything! I used Rose Quartz for the pink egg, Turquoise on the blue egg and Mint Green for the green egg.
When they had dried I glued the lace on to them and then I had a LOT of fun glittering the die cuts I made. I used a glue spray for this. Then i glued the glittered die cuts on to the eggs and decorated them with flowers and sprays.
This is my first egg, for my cousin Maja. :) The swirls are made with a Die-namic swirl die and glittered. The white bird is made with a Martha Stewart mold and clay (I got it from a very nice friend!)

The back of the egg.. I have used Spellbinders Grand Shapeabilities Wonderful Wings for the butterfly on the back and I have only glittered it with pink glitter.
And a final photo!
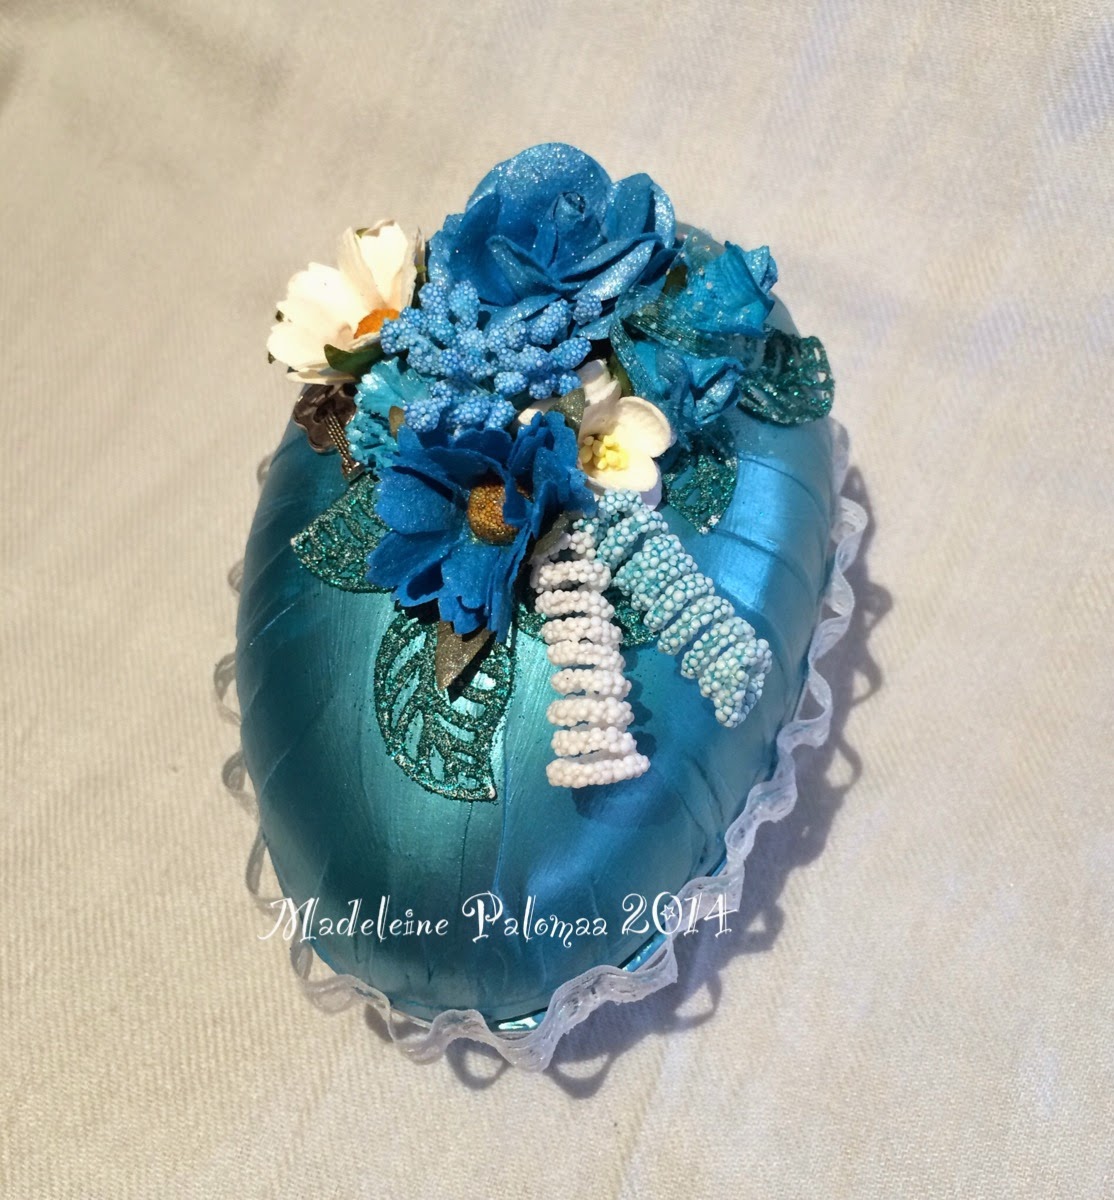
And here's my next egg, the size is just the same as the pink egg above! I have used a leaf die from La la land crafts, I LOVE it!!!

My cousin, Anton have been playing guitar for almost his whole life, so I glued on a little guitar charm on his egg :)
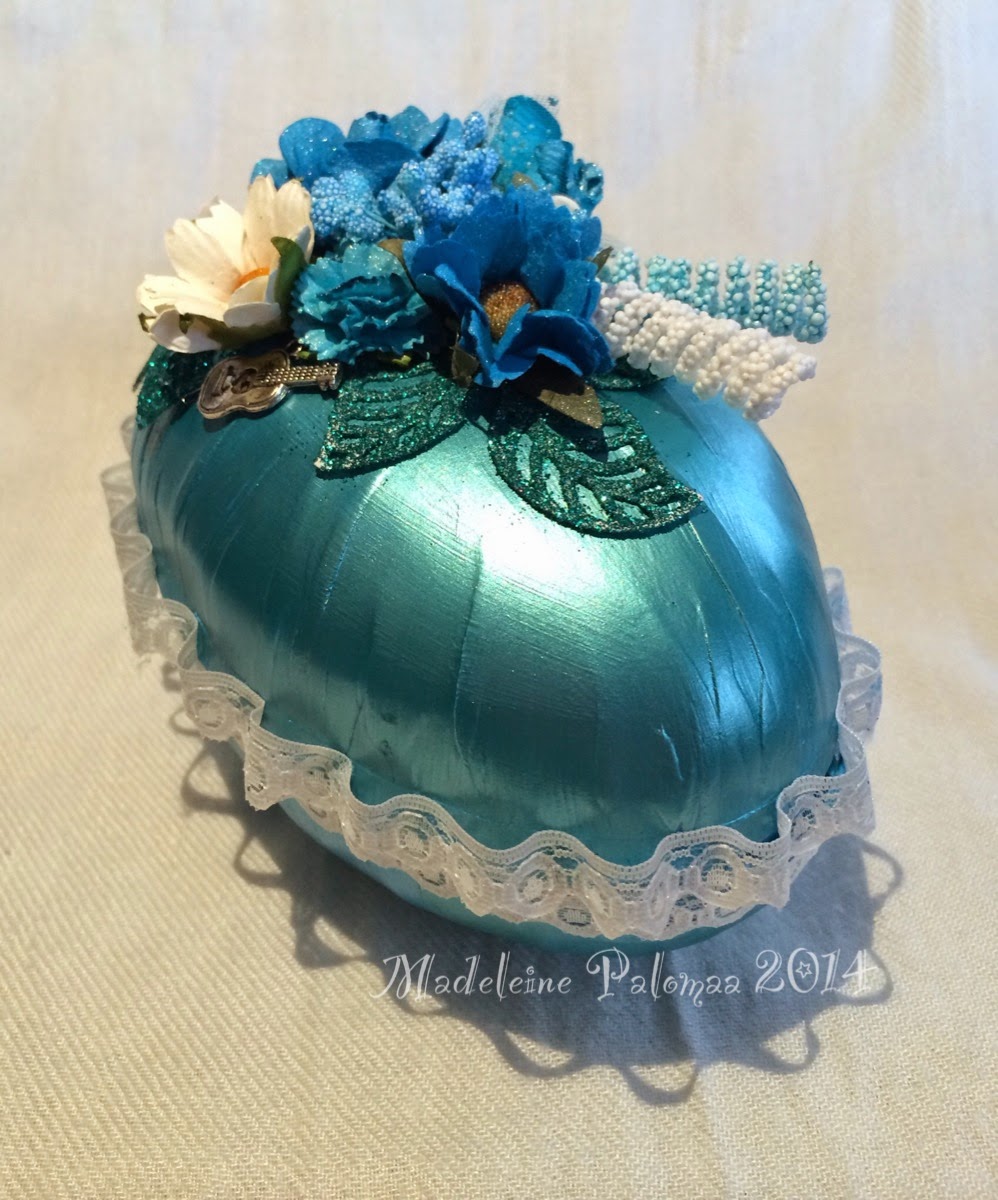
The back of the egg. I have used a Martha Stewart punch for the white butterflies that you see.
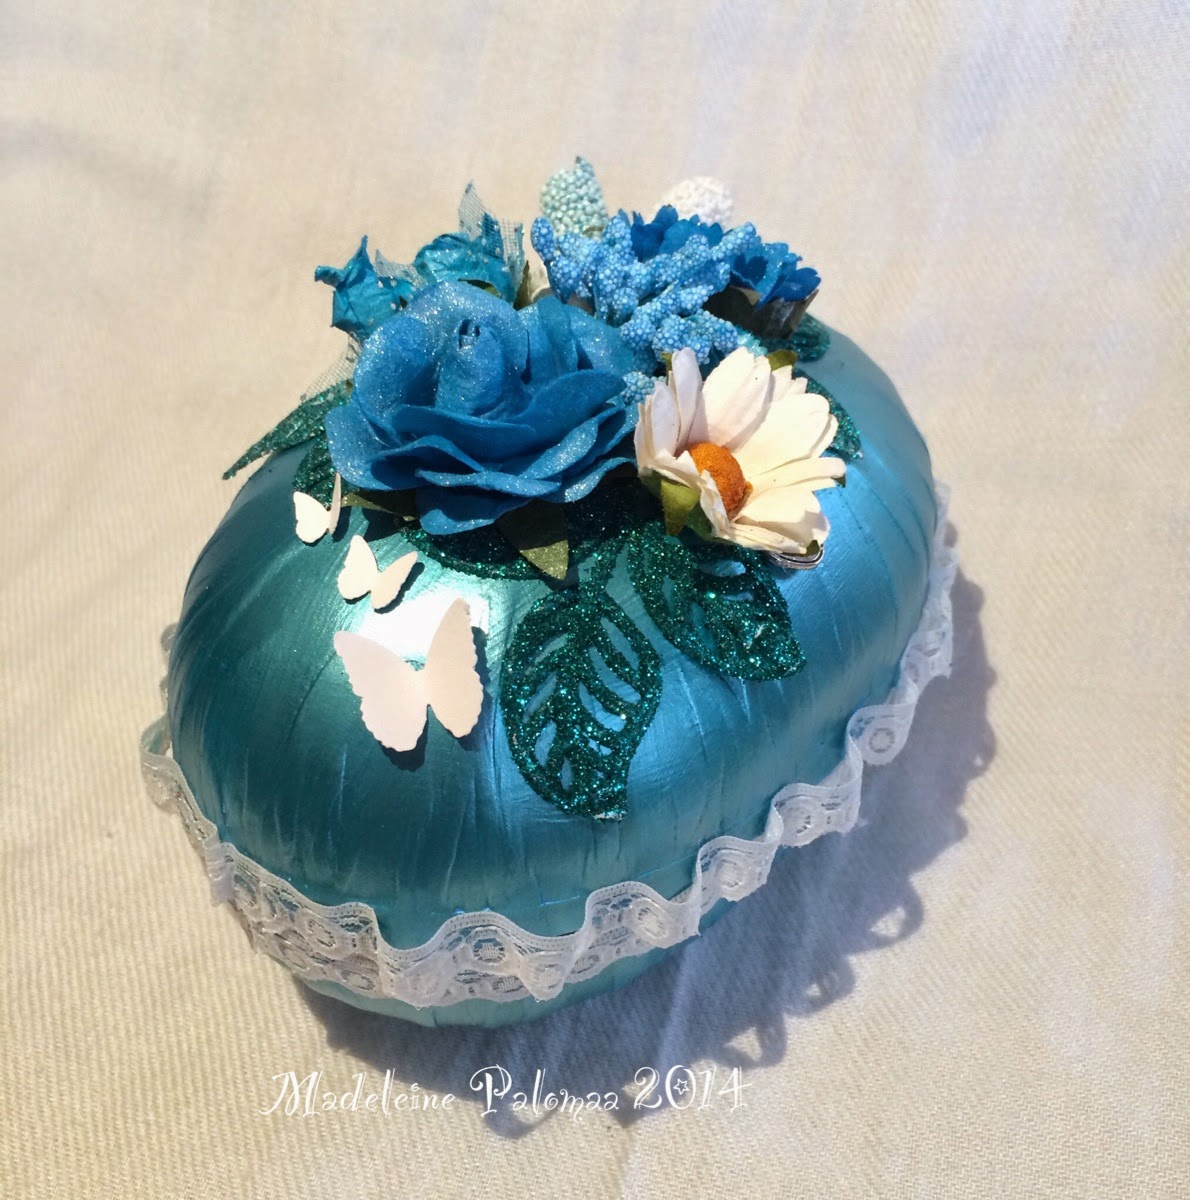
A final photo!
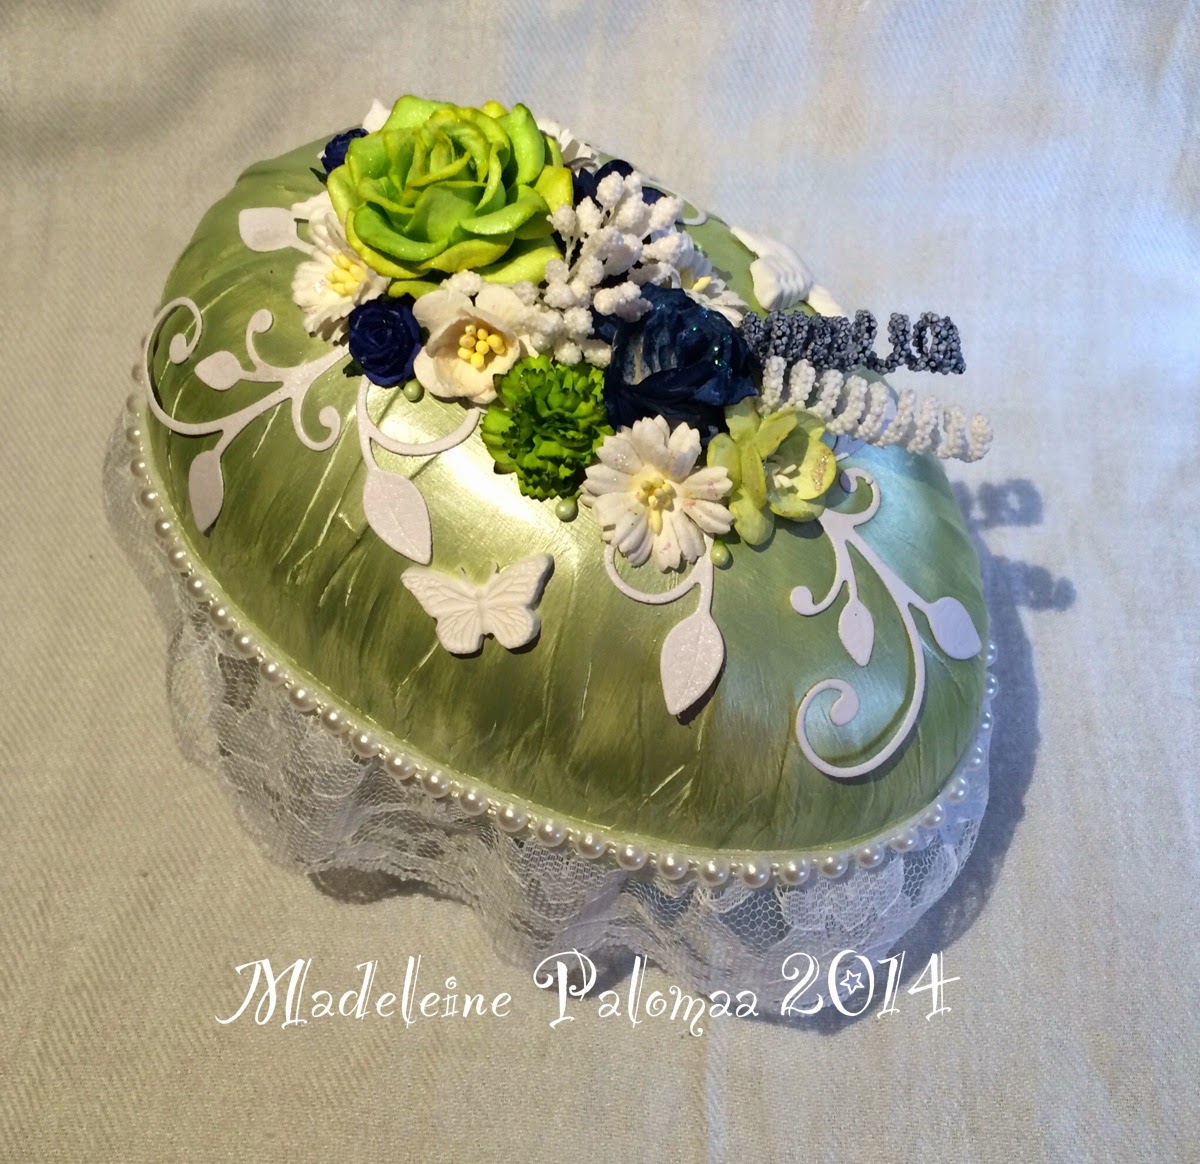
And last but definitely not least (this is the biggest one of them all, but it was for two so that's why): a green egg!
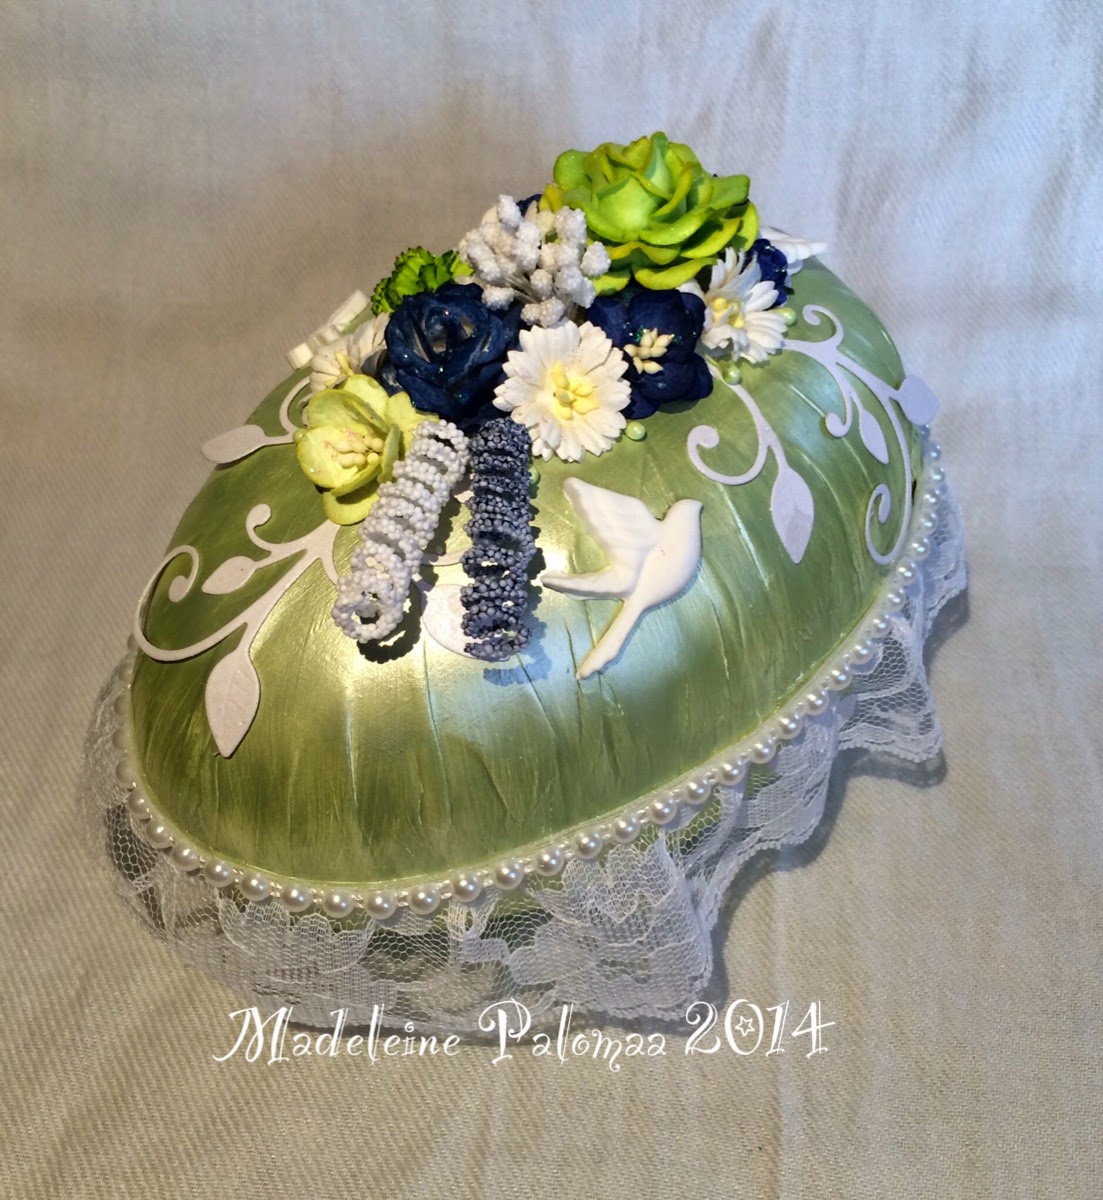
I have used a Die-namic swirl die for this egg, I have only misted it with Perfect Pearl mist.
One of the reciever of this egg LOVES lime green and thinks lime green fits very well together with dark blue (I do too!) and so that's what I decided to work with on this egg.
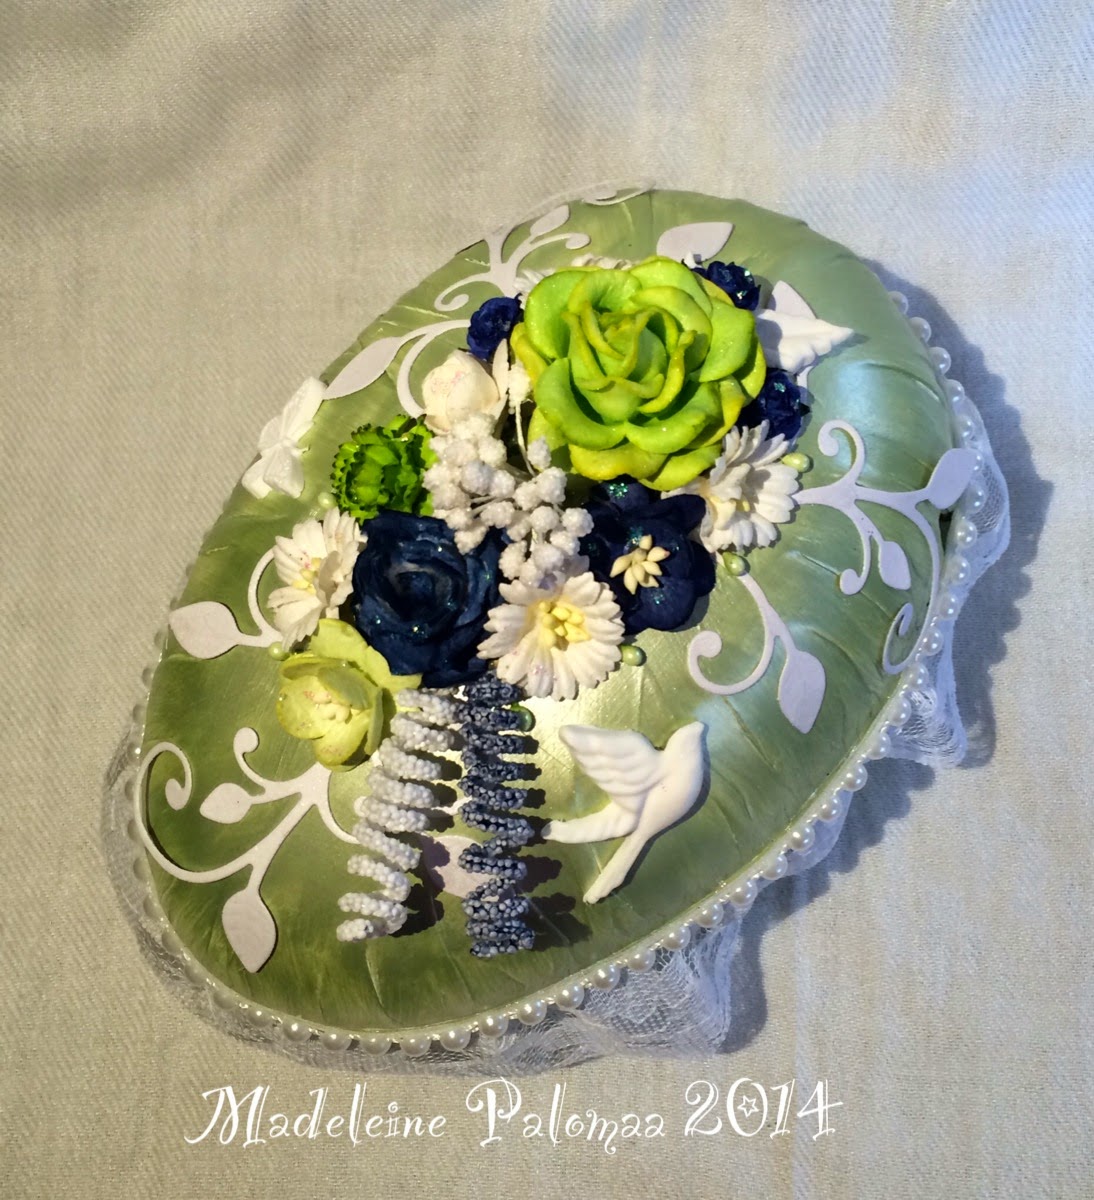
Here's the back of the egg!
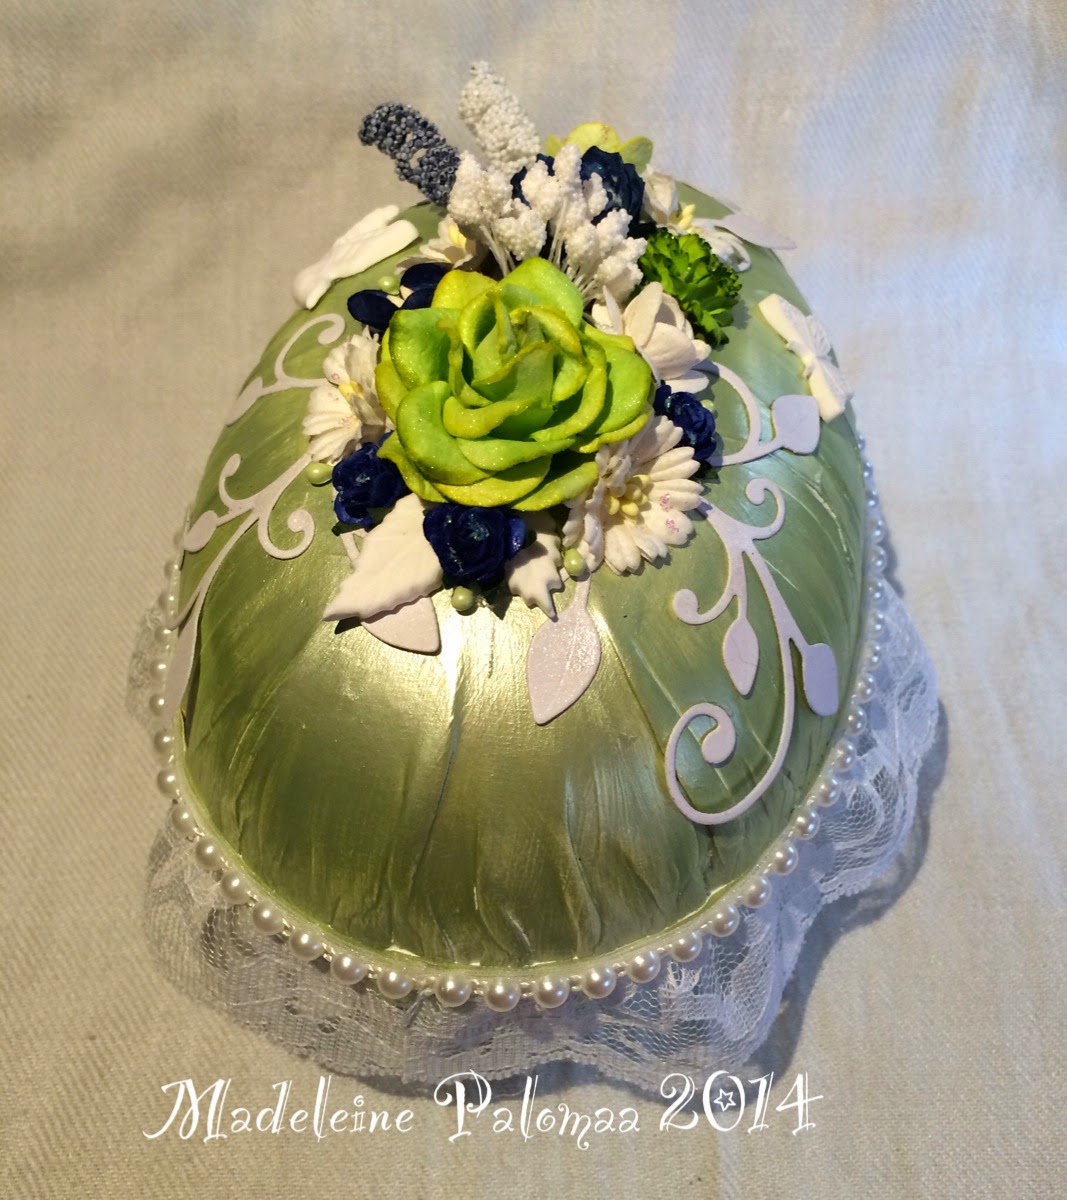
And a final photo!
Inga kommentarer:
Skicka en kommentar